I found a great tutorial from
Manfred Schwarz:
Pixinsight - Steps to get your galaxy. I found it very useful, not just to process my images, but also to get a better understanding of Pixinsight. I followed all the steps in this tutorial starting at #9 with a few modifications:
- I neutralized the background of the RGB and Ha image with the AutomatedBackgroundExtraction. I find it easier to neutralize the background of the combined image afterwards.
- I create a synthetized Luminance image by adding up the RGB image
- After step 12 (remove gradient), I used BackgroundNeutralization and ColorCalibration to correct the colors.
- In step 19 (Make stars smaller) I could not apply the Deconvolution steps: in areas where stars were in front of the galaxy, I would create dark halos around the stars:
| Before the first Morphological transformation: |
After the first Morphological transformation:
|
|
|
|
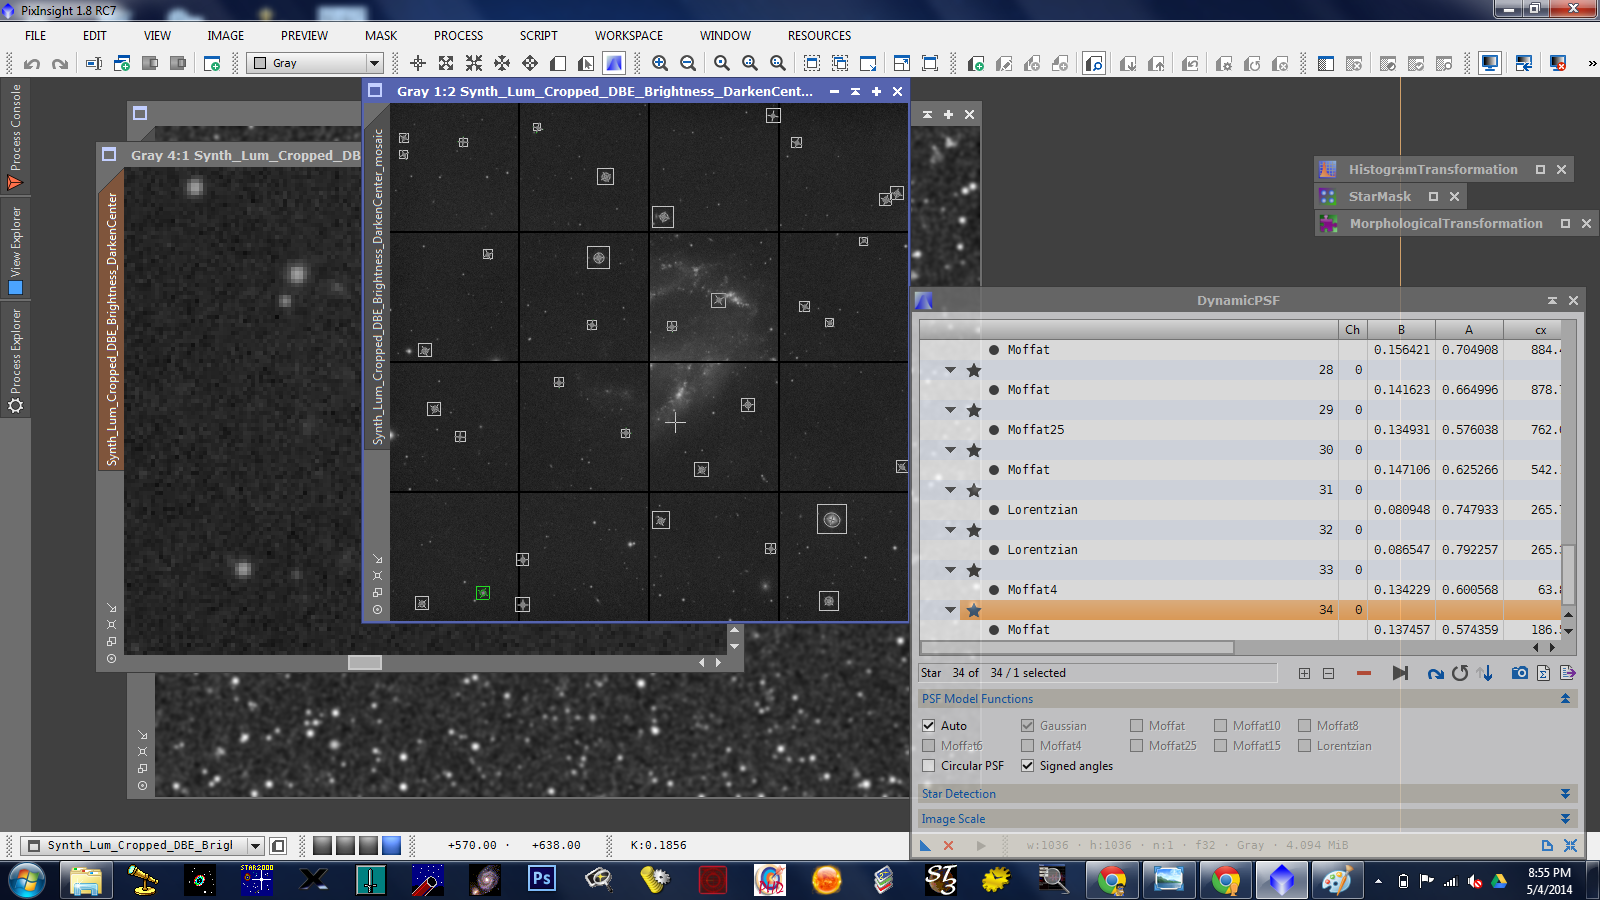
Next, I used the AbberrationInspector (under Script -> Image Analysis) to create PSF (point spread function):

With this PSF, I apply Deconvolution
| Before Deconvolution: |
After Deconvolution:
|
|
|
The halo in the second image is barely noticeable. But in the further processing steps, they got more and more pronounced. I decided to leave this step out.
- Step 20 (Enhance Dark Structures) gave me an issue I could not resolve: I could not apply the DarkStructureEnhance script as long as the image had a mask. When I applied the script without the mask, it created to stark contrasts all over the image. I left it out.
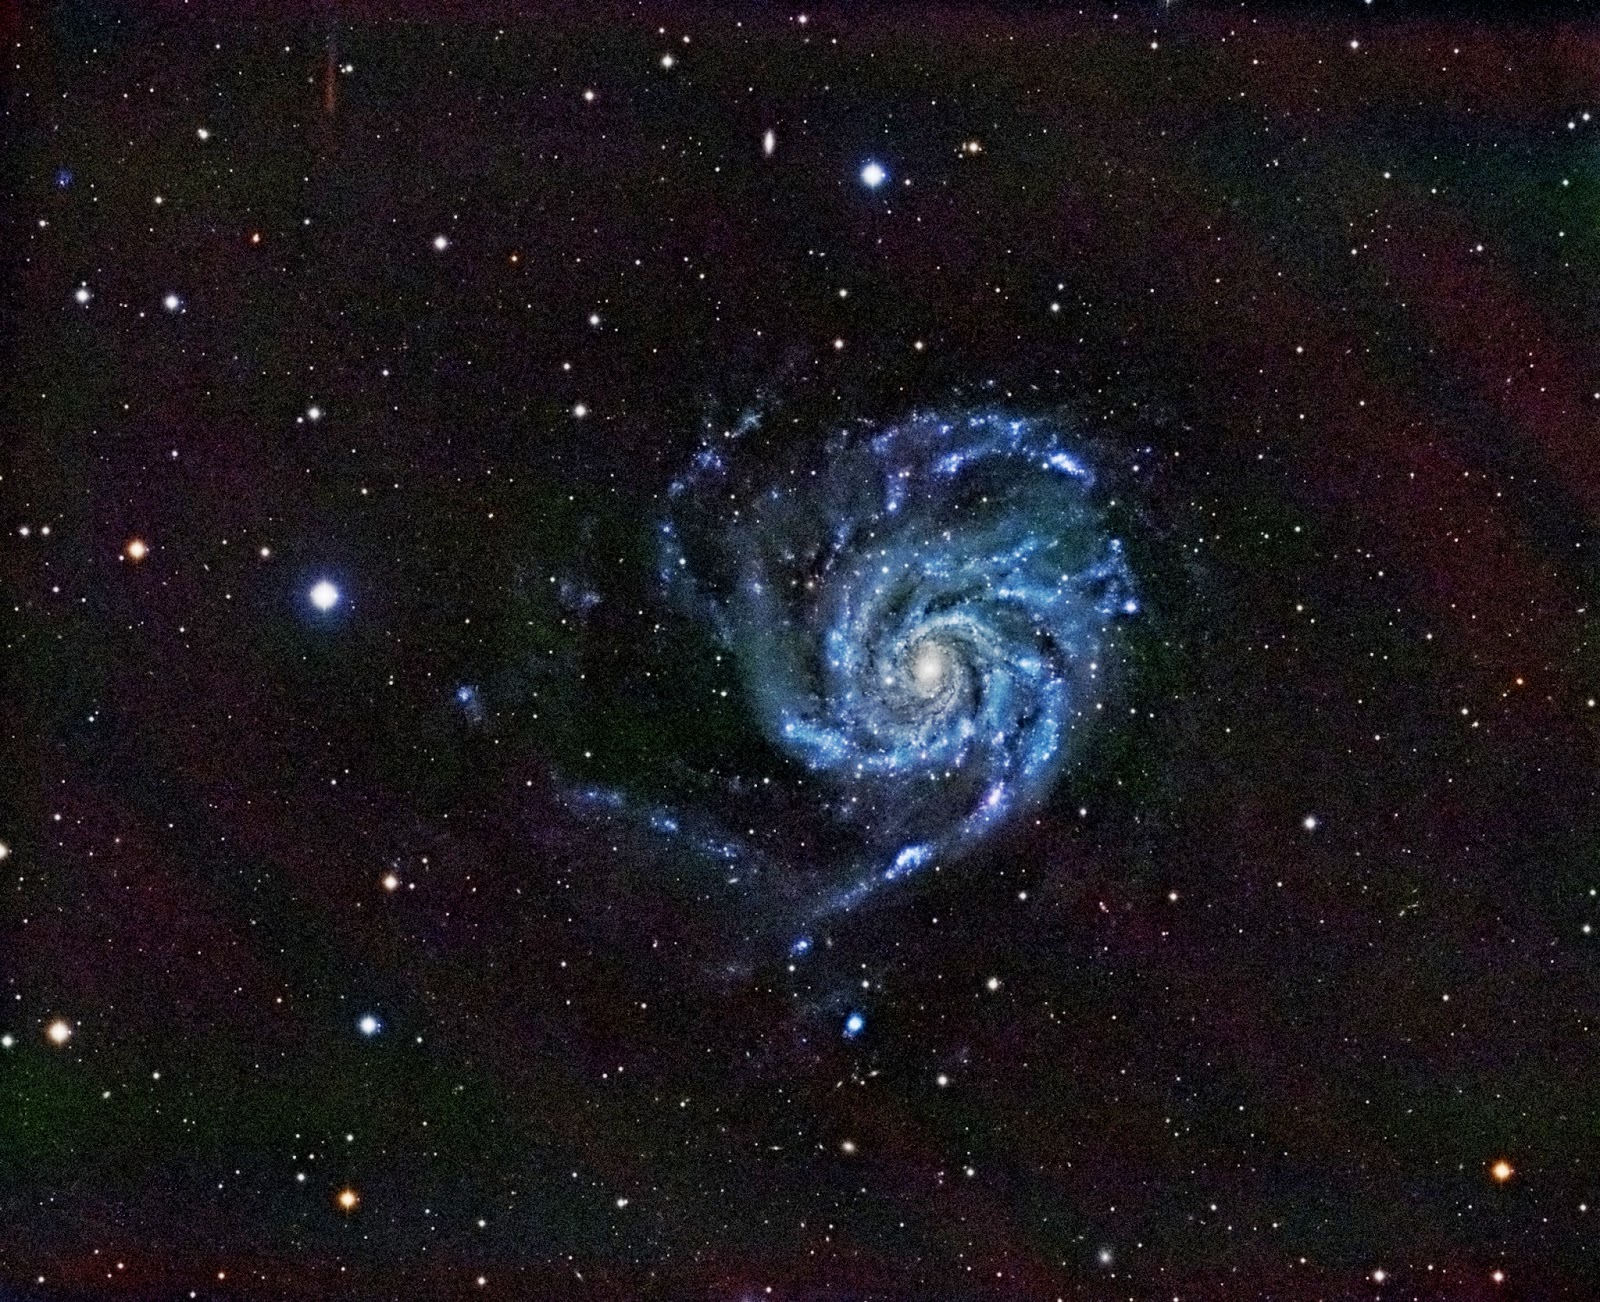
- This is the image that I ended up with:

I also collected Ha data. The only modification that I did, was to apply the AutomaticBackgroundExtraction and then brightened the image according to step 13 of the manual. Then I used the HaRVP-AIP script to blend it into the image. My first attempts always resulted in a very reddish background. So, I clipped the dark points of the Ha image (by first creating a duplicate, clipping the darks of that one, using it as a mask and then use HistogramStretch on the Ha image). Then I used it with the script again - didn't get the red background. I then used the SCNR process to remove the green from the image:
Pretty happy with this one - always remember: I image from a near-white site!!!


No comments:
Post a Comment