Tuesday, June 20, 2023

Preparing for next years Solar Eclipse

Next year on April 8th we will have a solar eclipse in the US. Since starting Arta, I don't have much (any?) time for astrophotography. But this is an event that I don't want to miss.

Location

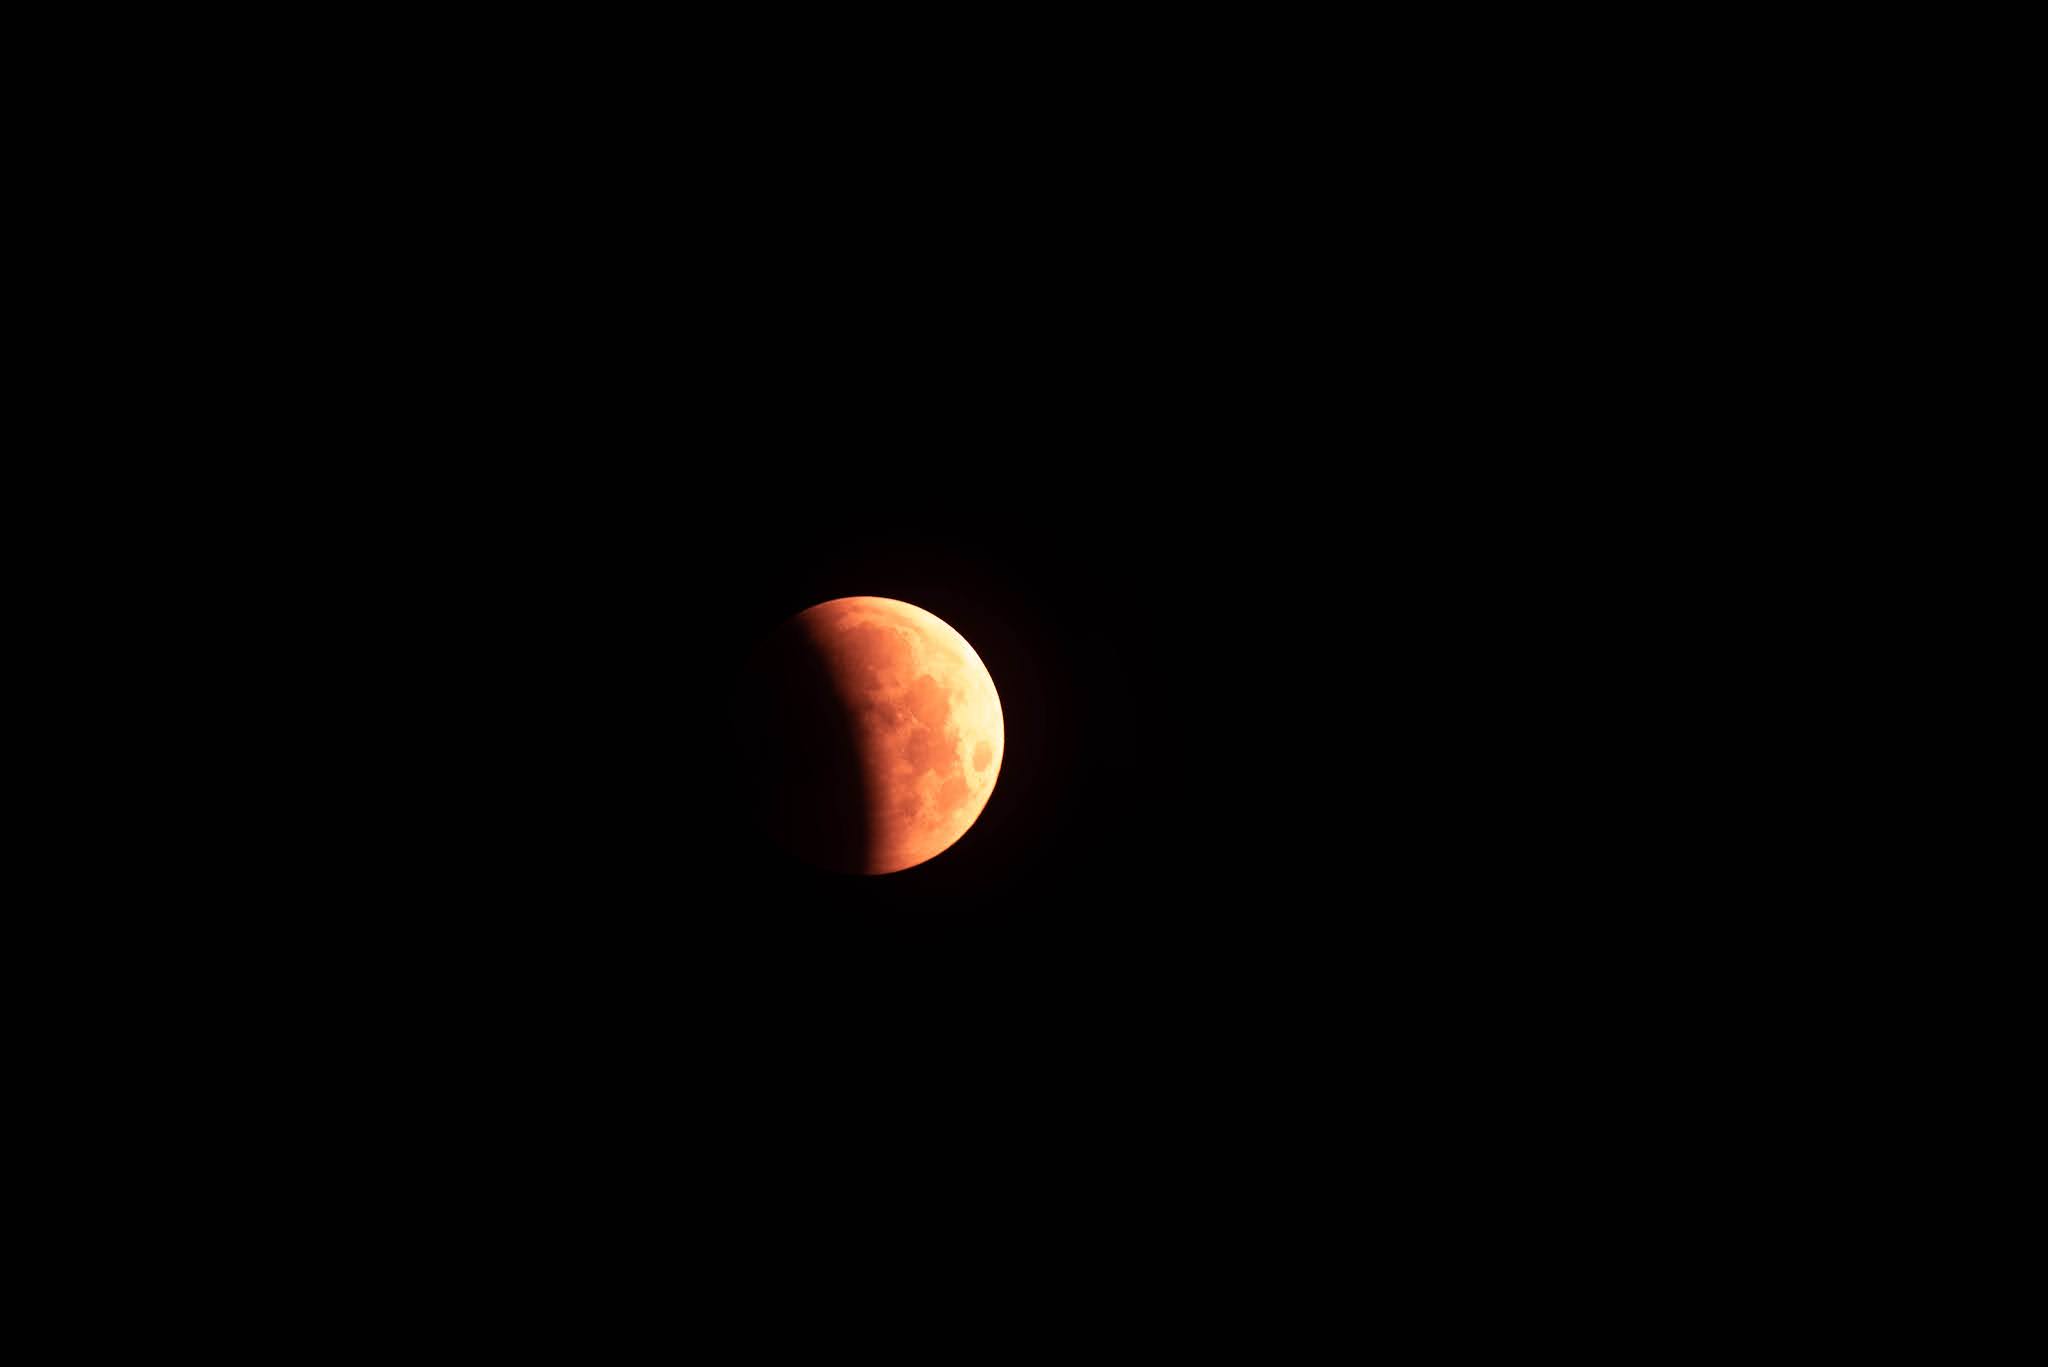
By the time, I got my act together, hotels and special start parties were sold out or were REALLY expensive. But Beth found a great place: Yantis, Texas. Population 322. 1.5 hours from Dallas. Almost exactly in the path of totality. Totality will be 4min 15sec (maximum totality time is 4min 28sec)!!

Scope

So, now I have to figure out what equipment to bring. We briefly considered driving, but that'd take too long. Which means I can't bring the Takahashi scope.

My initial thought was to buy/rent a long Nikkor lens that I can use with my Nikon D750 camera. But when I asked on the SEML mailing list about optimal focal length I realize that I have a pretty good one already: a few years ago, I bought a Takahashi FS-60CB refractor that I wanted to use as a guidescope. But it was too heavy and didn't yield better results than my simple ... 


So, it collected dust... But its focal length of 355 mm is almost perfect. It would be a perfect 600mm focal length with a the 1.7x Extender


But that was really difficult to get. Takashi US didn't have it. No vendor in the US had it. But Pierre Astro in France had it! Well, we will visit Germany in a few weeks, so I ordered it there and shipped it to my parents place! yei!!!

Mount

Similar to the FS-60CB scope, I have an AstroTrac 360 mount that I didn't really use yet and that I bought especially for light travel:


It can easily carry the FS-60CB scope and the D750. Now I just have to set it up. Unfortunately, one of the arms got bricked when I tried to update it to the last firmware!!! Well, there is enough time to send it in and get it repaired.

... and this mount can also carry my Pentax Imaging Rig. So, I can also take images at night - I expect Yantis to be pretty dark.

Saturday, May 29, 2021

Lunar Eclipse - What worked ... and what didn't.

As always with an event like this which you can't fully rehearse some things work well ... and others not so much:

1, Closeups with Lunar Eclipse Maestro
  • Setup of the scope (SkyGuider, polar alignment...) worked perfectly
  • Lunar Eclipse Maestro worked well, but somewhere during the maximum, it stopped taking images - luckily I caught this and restarted it.
  • I wish Lunar Eclipse Maestro would have taken two images at once - one for the bright and one for the dark part of the moon. HDR compositions might have looked really great!
  • For both this and the timelapse, having the Nikon's directly powered by a 12V battery was perfect (though the batter was pretty much flat at the end of the night powering the cameras, and the laptop).
2. Timelapse
  • It didn't work as a timelapse at all - the moon was just a really, really bright spot - and then less bright. But there were no details of the moon or such.
  • It gave me that awesome Milky Way image - I love that.
  • Somehow my field of view calculations were all wrong. The moon only went through half of the image. I.e. I could have shot at 24mm focal length - maybe that would have made a difference.
3. Unistellar eVscope
  • Setting the eVscope up was as always a breeze.
  • One of the tablets didn't have the latest eVscope software and couldn't connect (we had really poor reception up there)
  • The images had a strong pink taint:


    It was easy enough to process that out by adjusting the whitebalance. But for live observing we had live with a pink moon.

4. Manual Widescapes
  • As always, these are some of my favorites. Just walking around, trying different angles, exposures, focal length...
  • Our spot was almost too perfect! I didn't have any objects (trees or such) that I could put in the foreground.

Wednesday, May 26, 2021

Lunar Eclipse

On the evening of May 25, Renate and I got ready - after all those preparations. All the cameras and equipment were in the car, hot chocolate, Twix Bars, Chips, water, Beef Jerky ... and warm clothes. We drove up to Lick Observatory (which is still closed due to the Covid-19). But finding a place wasn't easy. Most places where I was before had some obstruction (telescope, trees) to the south west. We drove a little bit down and found a perfect spot: someones driveway - with a big "No Parking" sign! But it was almost midnight and we hoped that whoever lived there wouldn't want to leave until 6am...

We set everything up, configured and started the Eclipse Maestro and qDslrDashboard timelapse ... and then enjoyed the event!


And took some great images:

The moon half eclipsed - crazy brightness difference!


Various phases of the eclipse.

This is how the moon looked through the eVscope (though I had to color correct it).


The moon was in Scorpius. Once it wasn't super bright anymore, you could see the stars of Scorpius. The bright, red star to the left is Antares.

The Moon, Scorpius and Silicon Valley.


More images with the Moon and Silicon Valley. These are why I went up Mt. Hamilton!!!

And finally it was dark enough to see the Milky Way too!

And with the sunrise this awesome event came to an end.

Took lots of notes what worked and what didn't.


Tuesday, May 25, 2021

Lunar Eclipse Imaging - Prep

Finally, an eclipse again - this time a lunar eclipse. I planned early and ended up preparing 4 different ways to image it:

  1. Closeup - using a tracker and Lunar Eclipse Maestro
  2. Ultra wide angle timelapse
  3. With the Unistellar eVscope
  4. Manual widescapes

Turned out that I had a lot to prepare:

1. Closeup
The first challenge was that Lunar Eclipse Maestro only runs on MacOS and not beyond Mojave. But Xavier Jubier (the author) told me that I can run it in a VM.

Enter VirtualBox from Oracle. Luckily I found great instructions on how to install MacOS Mojave on VirtualBox. Beyond that I had to:

  • Pass the required USB ports to the VM. Which is fairly easy, you have to connect the USB devices and then select those devices to be available in the VM.
    Note: DON'T select the external hard drive that runs the VM or the keyboard USB ports here!!!
  • The time on MacOS was constantly off. I had to install guest additions to fix that. Also, the calendar was by default set to "Persian" - had to change it to "Gregorian".
Not being able to use my TOA-130 scope (I couldn't image the eclipse from our backyard but ended up driving up to Lick Observatory) I borrowed a 500mm lens from borrowlenses.com. And that was way too heavy for my Vixen Polarie. So, I ended up upgrading to an iOptron SkyGuider. The fast and accurate polar alignment using an iPolar and the load limit made it a great fit.

Figuring out the SkyGuider was a breeze (though first I received one where the iPolarie wasn't focused properly which made polar alignment impossible).  Having a counterweight and a sturdy ballhead was great for stability. I kind of wish that there was a mobile version of the polar alignment software - that would make the SkyGuider even more portable. Though most of the time when I take tracked images, I have a laptop with me anyway.

As always, battery power of the Nikon's concerned me: the batteries probably wouldn't last the entire night and I would need to remember to change them. A couple of months ago, I tried out the power supplies from Pegasus Astro. But they failed to power the D750 cameras (it worked on the D7000). When I tried these out again, I connected one of them directly to a 12V battery (by accident!) and ... it worked!!! Seems like the power of the power supplies from Pegasus Astro isn't powerful enough for the D750. But that was great. I purchased another batter coupler and could not power both Nikon's from the 12V battery!

Setting everything up in our backyard.


2. Wide angle
As so often, I wanted to take a timelapse using the 14-24mm Nikkor lens. I wanted to start the timelapse at midnight and end when the moon sets at 6am. In this time, the moon moves from 151° Azimuth / 22° Altitude to 243° / 0° = 90° horizontal and 22° vertical. Using a field of view calculator, the D750 covers 90° horizontal and 67° vertical at 18mm focal length. So, I'll use that.
As the brightness will change significantly (lunar eclipse and dawn) I will use the "holy grail" function of qDslrDashboard to adjust the exposure time and ISO automatically. As always, I will use the LRTimelapse Pro Timer for shooting.

3. Unistellar eVscope
Being able to watch the eclipse up close on a tablet should be convenient. Especially when it will be cold and we can do it from inside the warm car!

4. Manual Widescapes
Finally, I will use my 135mm and the 85-300mm lens for manually composing and shooting. Just using a tripod and remote shutter.

Sunday, March 7, 2021

ΔT and UTC data for 10Micron Mount

 I used to download the ΔT and UTC data from the US Naval Observatory (USNO) server (maia.usno.navy.mil/ser7). But that was shutdown some time ago.

Took me a while to find an alternative, but they can be downloaded from this NASA server: https://cddis.nasa.gov/archive/products/iers/. It requires registration (for free!) but always has the latest data.

Sunday, September 27, 2020

First Light: M51

We chose M51 as the first image of our new scope:
(click on image for full resolution)

M51 is a spiral galaxy in a distance of 23 million light years and has a diameter of 76,000 light years - which means it's slightly smaller than our own galaxy (105,700 light years). It was discovered by Charless Messier on October 13, 1775 - though he only discovered the main galaxy. The smaller galaxy (NGC 5159) was discovered 6 years later by Pierre Méchain.
The most prominent feature of this galaxy is the encounter with the smaller galaxy (at the bottom in the image). Although it looks like a frontal encounter, the smaller galaxy (NGC 5159) is actually passing behind the larger galaxy. This process has been going on for hundreds of millions of years.
Another interesting aspect is the larger number of supernovae in M51. There have been supernovae in 1994, 2005 and 2011 - three supernovae in 17 years is much more than what we see in other galaxies. It's not clear what causes this - and if the encounter with NGC 5159 has something to do with it.

It took me a long time to figure out how to process images from it:
  1. Normal Calibration of the individual Frames
    We realized that the shutter on the ML50100 camera isn't completely shut and let some light in. In order to take bias and dark frames, we had to cover the scope (I used a Telegizmo cover for a Dobsonian that we could pull over the entire scope, finder scope and mount:
  2. Using the DefectMap process to correct dark (cold) and white (hot) columns.
  3. Equalizing all images.
  4. Using the SubframeSelector process to create weights for all images and mark the best images.
    And just so that I don't forget the parameters:
    Scale: 1x1: 0.48 2x2: 0.96
    Gain: 0.632
    Weighting: (15*(1-(FWHM-FWHMMin)/(FWHMMax-FWHMMin)) + 15*(1-(Eccentricity-EccentricityMin)/(EccentricityMax-EccentricityMin)) + 20*(SNRWeight-SNRWeightMin)/(SNRWeightMax-SNRWeightMin))+50
  5. Stack the images (I stacked all images against the best Ha image)
  6. Use the LocalNormalization process to improve normalization of all frames
  7. Use ImageIntegration to stack the images
  8. Use DrizzleIntegration to improve the stacked images
  9. Use LinearFit on all images
  10. Use DynamicBackgroundExtraction to remove any remaining gradients
  11. Use ColorCombine on the Red, Green and Luminance images to create a color image
  12. Use StarNet to remove the stars from the Ha image
  13. Use the NRGBCombination script to add the Ha data to the color image
  14. Use PhotometricColorCalibration to create the right color balance
  15. Use BackgroundNeutralization to create an even background
  16. Use SCNR to remove any green residues
  17. Stretch and process the image (no more noise reduction - the advantage of dark skies!!!)
  18. Enhancing the Feature Contrast (the Pixinsight tutorials from LightVortexAstronomy are awesome!!!)
  19. I then use the Convolution process on the RGB data to remove any processing noise in the colors.
  20. Process the Luminance image the same way
  21. Sharpen the image just so slightly
  22. Use LRGBCombination to apply the luminance image to the RGB image
  23. Do some final processing (usually just CurvesTransformation to drop the background a little and maybe adjust Lightness and Saturation to bring out the object better).
  24. Done!!!
Interestingly M51 was also the first images I took with my Celestron EDGE scope 7(!!) years ago: https://mstriebeck-astrophotography.blogspot.com/2013/06/first-image-with-new-setup-m51.html. What a different darker skies, better equipment and 7 years experience make :-)

Removing stars with StarNet++

To cleanly fold Ha data into our LRGB images, we want to remove all stars (otherwise the star colors will be distorted). In the past I tried various options:
  • Creating a star mask and subtracting that from the image. Which leaves black holes in the image. It's not too bad as these black holes are where stars are. But if the stars in the star mask are not the same size then the real stars, some artifacts are left.
  • I tried Straton - but could never get a clean image out of it.
So, I was exited when I read about StarNet++ - an ML-based algorithm that removes stars. And it even comes with the latest version of Pixinsight:

First time, I wasn't sure what these "weights" files are... Turns out, that these are files Starnet files that DON"T ship with Pixinsight. Weird.

If you go to the SourceForge project of StarNet you download the whole standalone software, unpack it and have the files in there:
    mono_starnet_weights.pb
    rgb_starnet_weights.pb

You copy them into the Pixinsight library folder (or a subfolder), click on "Preferences" and select them:

Now, one challenge is that this process only works on non-linear images - but we want to fold the Ha data into the RGB data in the linear stage.

I found this video where somebody explained how to create a "reversible stretch". We use the ScreenTransferFunction:

And click on "Edit Instance Source Code" (the little square icon at the bottom):

The middle value in the first row (here: 0.0051) is the midtone stretch factor. We use that to create a PixelMath stretch function: mtf(0.00051,$T)

When we apply this to our image instead of the ScreenTransferFunction stretch we get a stretched linear image that looks like this:

Not the best contrast, but enough to let StarNet do its work. If we now apply the StarNet process to this image, we get this (this can take quite a while!):

It's a little bit hard to tell, but the stars are gone. We change the expression in the PixelMath window to: mtf(1-0.00051,$T) which reverses the stretch. If we now stretch the image again with ScreenTransferFunction we see that the stars are gone:

The larger stars leave some shadow behind, but that won't matter too much. We can use this image to fold the Ha data into the RGB data. I use the NRGBCombination script (under Scripts->Utilities) for this.