Because I took my subframes on separate nights, I could not use the Image Integration step from the batch processing script. But also, this step usually requires some parameter tweaking and visual checking, I rather do this by hand.
Before I start with integrating the images, I am using the SubframeSelector script to remove outlier from my images. First, I add all registered images of one filter to the script:
Then press Measure ... wait ... and then open the plot section:
Here I can easily mark the outliers. And once I did that (I am using FWHM, SNR and Eccentricity for this), I open the Output section:
Here I define what I want to do. I usually move the rejected files to a subdirectory and leave the approved images in place. Click "Output Subframes" to do the actual move.
Because these images are taken as usual from our home, they have pretty strong gradients in them. Which can interfer with averaging, outlier rejection and stacking. At this point, I don't want to do a fine-grained background extraction, but just something basic. The AutmatedBackgroundExtraction is perfect for this. In order to apply it to all my images, I use an ImageContainer:
I add all the subframes, set the output directory and change the output template (by default it adds the timestamp to the filename, I just add a "_ABE" to it). Next, I open the AutomaticBackgroundExtraction process, set Correction to "Subtraction" and check "Discard Background Model" and apply it to the ImageContainer. Then it runs over all the files and stores them in the output directory. As a side effect, it opens up all the files too - which sucks up a lot of memory. I haven't figure out yet how to avoid that ...
I found a good presentation from Jordi Gallego on "Image integration techniques: Increasing SNR and outlier rejection with PixInsight". It gives a good introduction into image integration techniques: average vs means... and different pixel rejection algorithms. There are two basic concepts:
- Which pixel rejection algorithm to use (sigma clipped, Winsorized sigma clipped, linear fit clipping). His method is to integrate the images all 3 ways plus one without rejection and choose the one that creates the lowest SNR and is closest to no rejection. The ImageIntegration script outputs this value at the end of its run.
- Tweak the
"Sigma Low" such that we just don't get any dark pixels, and
"Sigma High" that we just remove any bright unwanted pixels (e.g. trace of a plane)
Step #1 is fairly straight forward. Open the ImageIntegration process. Make sure to press the "Reset" button to ensure that we start from scratch. Add all files from one of the filter directories and press "Apply Global" (the default is "No Pixel Rejection").
After 215.6 seconds, I get these values:
Gaussian noise estimates : 2.8248e-004
Scale estimates : 4.4882e-004
Location estimates : 9.2372e-002
Reference noise reduction : 1.7204
Median noise reduction : 1.6913
The main value to maximize is the last one (Median noise reduction).
I repeat this with the 3 pixel rejection algorithms and get these values:
Sigma Clipping: 1.6146
Winsorized Sigma Clipping: 1.6422
Linear Fit Clipping: 1.6533
First, you will notice that the subsequent runs are MUCH faster (less then 30 seconds). This is because Pixinsight still has a cache and does not need to do the analysis of the individual subframes available.
Linear Fit Clipping is the highest (1.6533) and not too far from the result without any rejection (1.6913).
We need to find a region with bright and dark pixels in our image. I am starting with the red filter subframes, here is the image that I get without any pixel rejection:
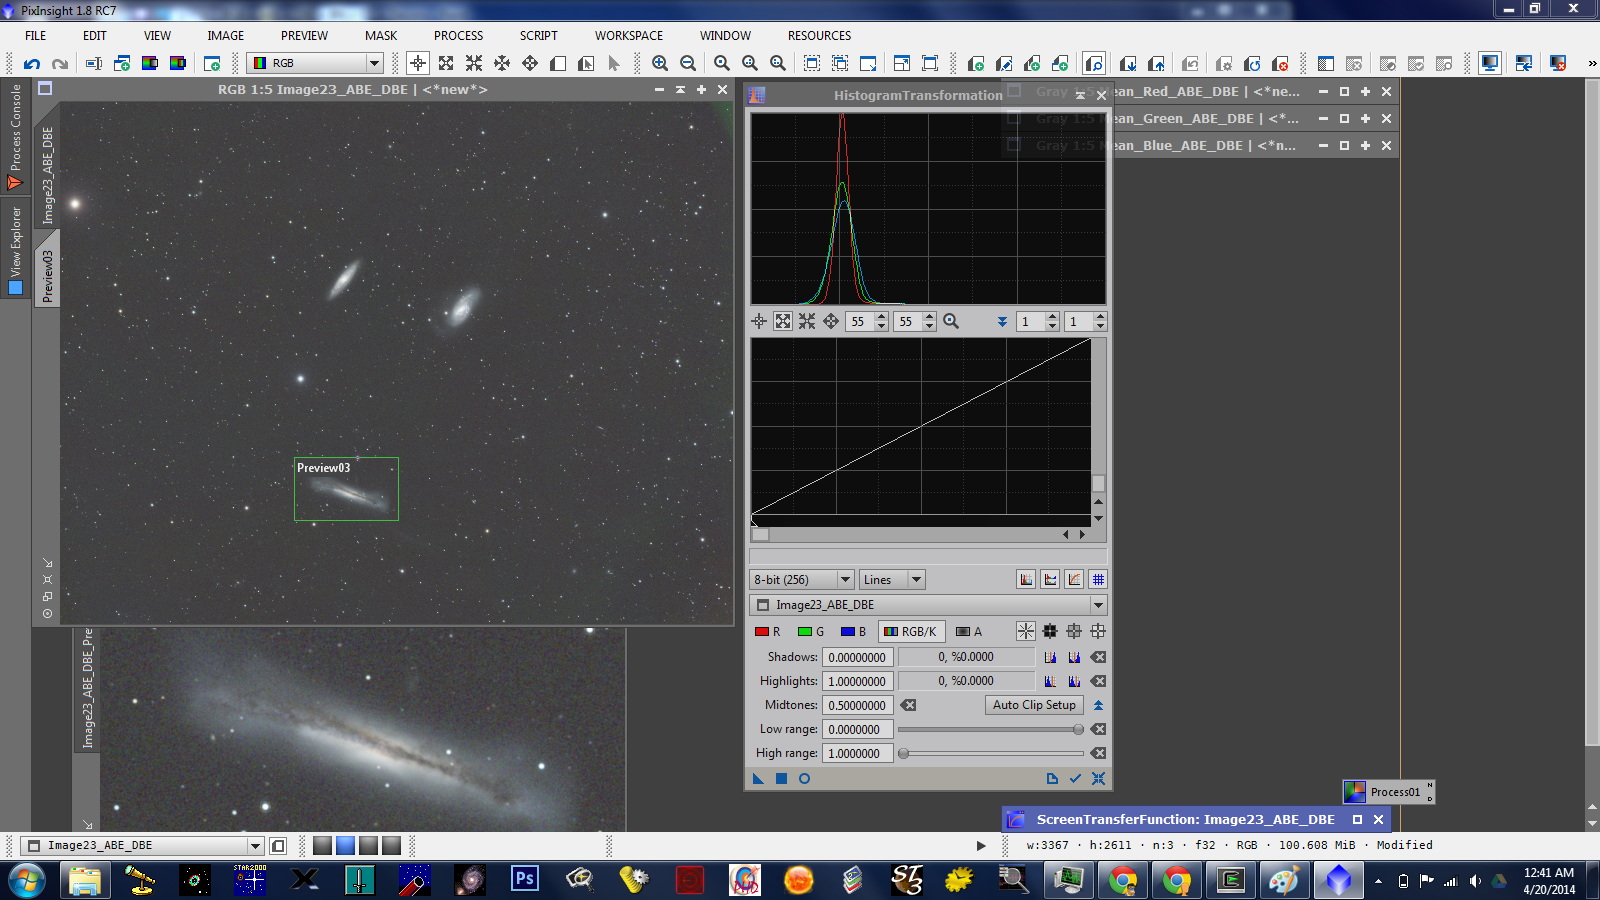
I have a plane trace in it and choose the lower right area (which is dark but has the trail):
In ImageIntegration, I can do the integration analysis in a specified region that I can define off a preview. I am selecting this preview for it (this will make the analysis even faster and will allow me to see the same subsection of the image all the time) by clicking on "From Preview" and select my preview.
Preview with "Linear Fit Low"=5 (Default):
No black pixels, increase to 8:
Still, no black pixels, increase to 10 (maximum):
Still no black pixels, so we can leave it this high. Next the high value. With the default of 2.5 we can't see the plane trail, let's increase to 5:
No trail, let's try 8:
No trail, set it to 10 (maximum):
Now, you can see the trail in the middle. Backing down to 9:
Still, you can see it. So, we keep it at 8.
Now, we remove the "Region of Interest" and run the integration with these parameters. We get a Median noise reduction of 1.7038. Which is even higher(??) then the average value?
We store this image, close all files, reset the ImageIntegration process and repeat the process for the green, blue and the Ha filter.


