Saturday, October 28, 2017

Proper Reducer for TOA-130 scope

So, now where I know that the Super Reducer won't work for me, I was looking for others. I found quite the plethora of reducers:

NumberFocal RatioImage CircleBackfocusPrice
TKA31580f5.444mm$719
TKA31580L*f5.865mm106.2mm$3000
TKA31580Sf5.8$745
TKA32580Af/5.444mm$1190
TOA130R f/5.76$719

Apart from the various adapters that I need which one to choose??? Asked on the Uncensored Takahashi mailing list.

* This is the Super Reducer that I tried ...

---

Most people pointed to the TKA3250A reducer. This is its spot diagram:

Not quite as good as the .67 flattener but WAY better than the 645 reducer.

Takahashi Super Reducer - again ...

I never received an answer from Takahashi America on my problems with the Super Reducer. So, I sent an email to Takahashi Europe to ask for help.

I received an answer almost right away!!!

The advice was to focus not in the middle of the image but 1/3 on the outside as sketched on this image:

I didn't really know how to achieve this (neither TSX nor SGPro allow to focus "off center")

So, instead I focused as normal and then move the focuser in and out within the critical focus zone (and a little beyond) to see if the curvature changes.

The critical focus zone of the TOA-130 with the Super Reducer is 170 microns. The step size of the FLI Atlas focuser is 0.085 micron / step. I.e. I need to move the focuser 2000+ steps to go in and out of the critical focus zone.

Unfortunately, this didn't make large (enough) difference. The curvature was always between 17 and 22 degree. But never significantly better...

---

The answer from Takahashi Europe was somewhat disappointing:

"The field is flat with the 67FL.
The field is slightly curved with the SRD645."

Here are the spot diagrams for both:
.67 Flattener645 Reducer

I guess that means that this reducer doesn't work - at least for me ...

Saturday, October 21, 2017

First Image with double stacked Lunt scope

After installing the DSII module on my Lunt scope, I exchanged the eyepiece for the camera and tried to take my first image.

I took some images just before installing the DSII and after. Let's compare these:

Single StackDouble Stack

Hmmmm, before even comparing further. There seems to be some strange banding on the Double Stack image. I checked all other images. Took another series again ... always with the same result.

Posted on the Solar Chat Forum about it ...

Update October 22:
These seem to be Newton Rings. Not sure why I didn't see these before. But apparently tilting the camera a little bit eliminates them. Order this little tilter that should fix this.

Installing a double stack module on my Lunt solar telescope

With the hope of even more contrast, I ordered the Double Stack Module for my Lunt scope. I actually received it a few weeks ago, but decided not to change my equipment before the eclipse in August.

Today, was a very clear day and I thought I'll install it.

Here is a picture of the scope plus the Double Stack Module (plus instructions):

Installation was fairly straight forward:

1. Remove the rear part right after the red tuner:

2. Next, attach the Double Stack Module to the pressure tuner:

 (I first didn't understand that the red pressure tuner stays in place - I thought that the Double Stack Module will replace it).

3. And finally attach the focuser extenstion tube to the Double Stack Module:

That was (almost) it!!!

When I use the eyepiece, I could use the instructions like a charm:

  1. Refocus
  2. Now, the image looked quite dim
  3. Turning the PT cylinder on the Double Stack Module until the image is bright
  4. Now, tune the Single Stack Tuner as usual
  5. And finally, tune the Double Stack Module until maximum contrast.
Visually, I "think" I could see a difference, but wasn't sure. So, I popped in my Grasshopper camera to take images to compare.

... but now I could not focus anymore !!!

Turns out I skipped one part of the instructions: "Make sure you remove the black extension piece from the focuser prior to installation" (to make me feel better, I am apparently not the only one who forgot that...) Well, that makes sense, the Double Stack Module moved the whole focuser extension back. So, I remove the extension piece...

... and voila! Now, I could focus again!!!

Sunday, October 15, 2017

Double Cluster, Heart Nebula and Soul Nebula

This is the second image with my Pentax-based imaging system:

(click on image for full resolution image)
The three main objects in this image are the Double Cluster, the Soul Nebula (top) and Heart Nebula (below). They are all in the Perseus arm of our galaxy (earth is in the Orion arm) and in similar distance. The Double cluster is 7500 light years away, both nebulae 6500 light years.
The Double Cluster is relatively young (12.8 million years) and appears to be slightly blueshifted. This is a result of its movement - it races towards earth with 38/39 km/sec!
The cluster can be seen with the naked eye in really dark areas and easily with a binocular. It was discovered 130 B.C. by the greek astronomer Hipparcus.
Both nebulae are actually one gigantic complex that is 300 light years wide! They are connected by a bridge of gas. Both are birthplaces of stars in their center (which is why their centers are less red: a lot of gas has already been consumed by new stars). The stars in their centers are just a few million years old - and they are younger the further they are away from the center.

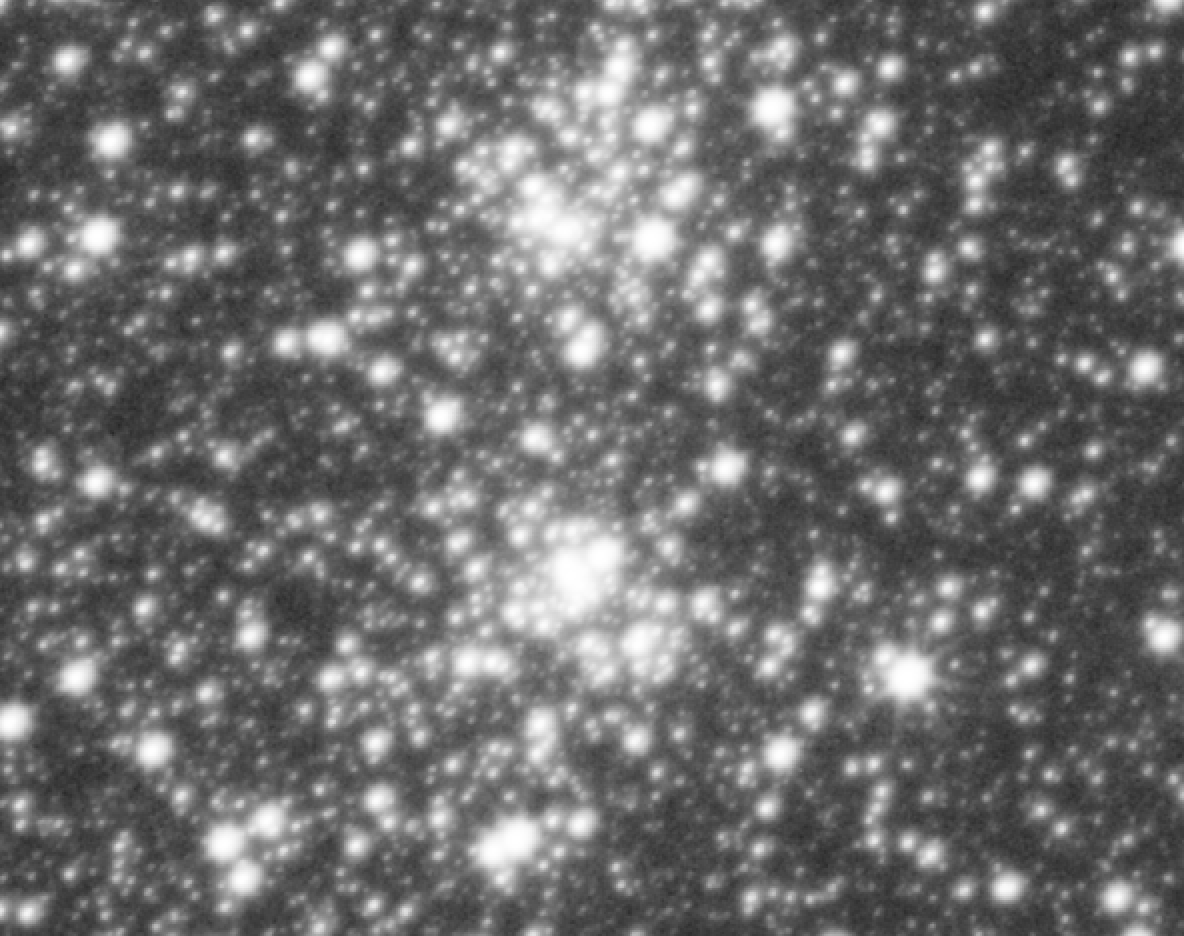
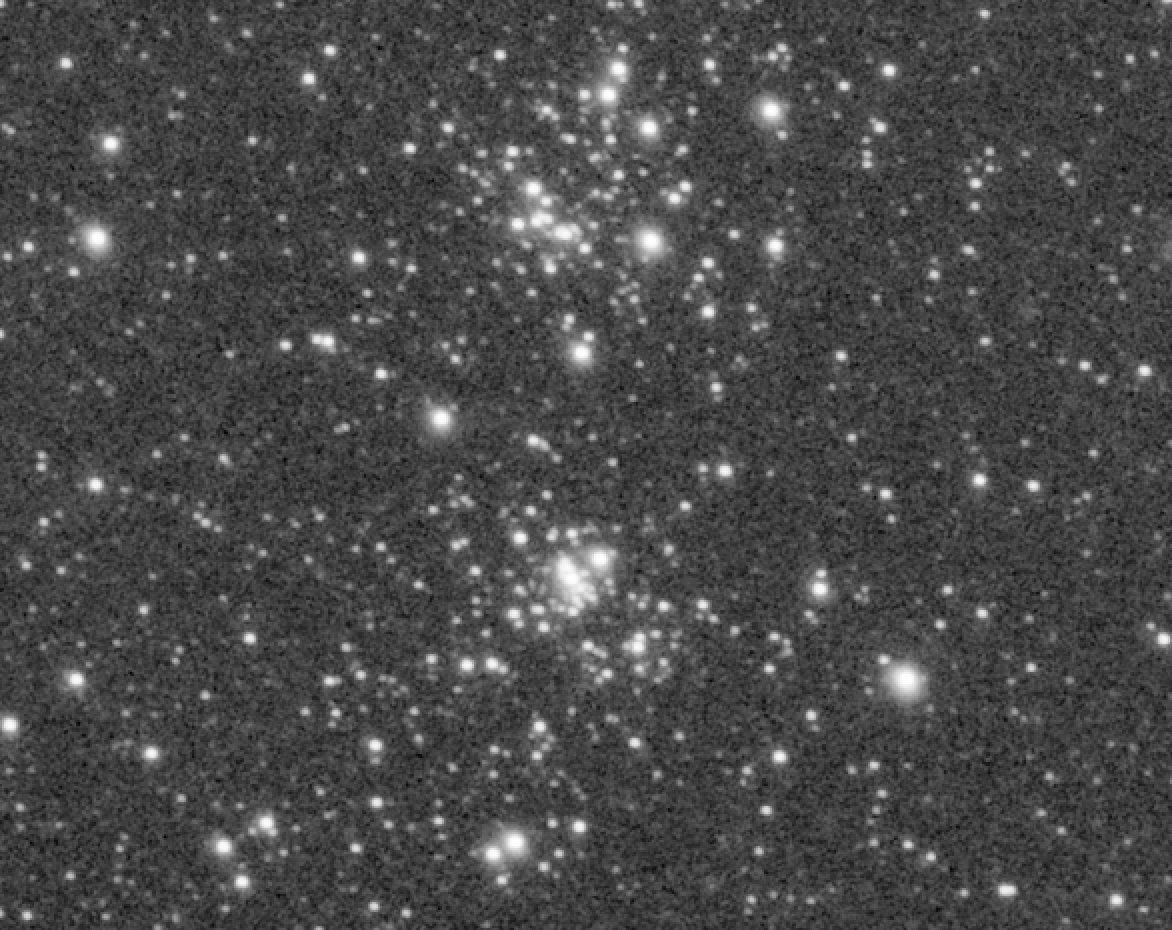
Processing this image was made difficult by the bloated stars in the LRGB images:
LuminanceHa

I compensated for this already in the linear state by shrinking the stars using the MorphologicalTransformation process in Pixinsight (again, using one of he awesome tutorials on lightvortexastronomy.com):

First, I created a "contour star mask" from the stretched image:

This star mask should cover exactly the stars. Here is how the inverted mask looks::

Now, we apply the MorphologicalTransformation process:

And here is the result before and after:
Before:After:

It's a subtle difference (which is good as we don't want to completely change the image) - but makes a huge difference further downstream.

Sunday, October 8, 2017

The North America Nebula

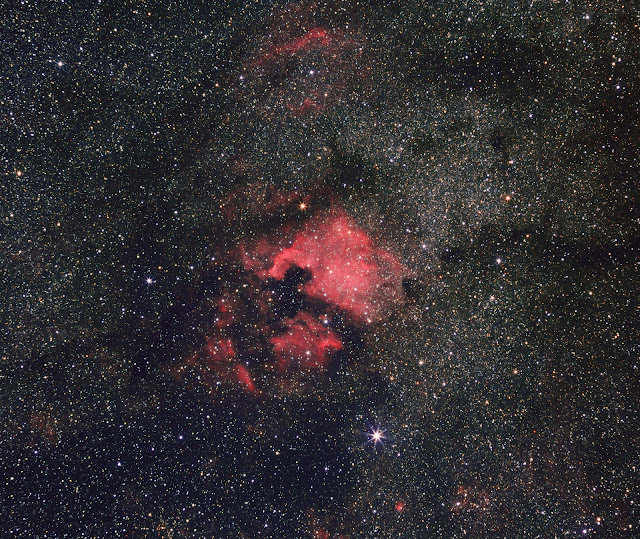
This is the first successful image of my Pentax-based imaging rig:
(click on image for full resolution)
Processing this image was a challenge - mostly because the imaging scale is so different then my images from my Takahashi TOA-130 scope. It has A LOT of stars and very little true background.

This nebula is four times the size of the full moon (which demonstrates the HUGE field of view of the 55mm lens!!!) The nebula and the Pelican Nebula (the lower, smaller nebula) are part of the same interstellar cloud of ionized hydrogen - which is forming stars. Between the nebulae and us are dust lanes that create the shape. We don't know for sure how far the nebula is away from us and what its dimensions are. Some speculate that Deneb (the very bright star in the lower part of the image and one of the brightest stars in our skies) ionizes this nebula. which would put it at a distance of 1800 light years and a diameter of 100 light years!

Comet Tracking

I read about C/2017 O1 ASAS-SN. As this comet is currently nice and high in the sky (at least in the second half of the night) I decided to give it a shot.

First, I just pointed the mount to the point in the sky where the comet is and started imaging:

(OK, ignore the dust motes for a second :-) But you can clearly see the comet in the middle right. Zoomed in:

Yep! There it is. But of course elongated as the scope is tracking the stars - not the comet.

So, I used Horizons (part of APCC Pro) to track the comet. I think Ray Gralak did a great job with Horizons. It's a little complicated at first to setup, but once you went through it once or twice, it's actually very easy!

With that, now, my images looked like this:

The comet is in the middle - and you can already see that the stars are elongated. Zoomed in:

:-(

It looks as if Horizons adjusts the mount only every few minutes (these are 10 minute exposures) ...

... on second thought, this could also be my PEC gone wrong. Tonight, I'll try 10 minute unguided exposures with and without PEC to see what happens ...